Let's be real: managing Conda environments is a huge part of life for anyone working in Python, data science, or AI. But here’s the thing—over time, you start accumulating these environments like they’re old receipts in a drawer. Before you know it, you’ve got dozens of them, each packed with its own mountain of packages and dependencies. Knowing how to safely delete a Conda environment and actually clear out all that space is key to keeping your workspace from turning into a total mess.
In this walkthrough, we’re going to look at exactly how to wipe out a Conda environment the right way, what’s actually happening "under the hood" when you run those commands, and how to fix things when the terminal decides to be difficult. Whether you’re just trying to reclaim some precious disk space or you’re fixing a broken setup, I’ve got you covered.
Tip: Think of it as digital housekeeping. Regularly cleaning out unused Conda environments doesn't just save space—it prevents those "wait, which version was I using?" headaches later on.
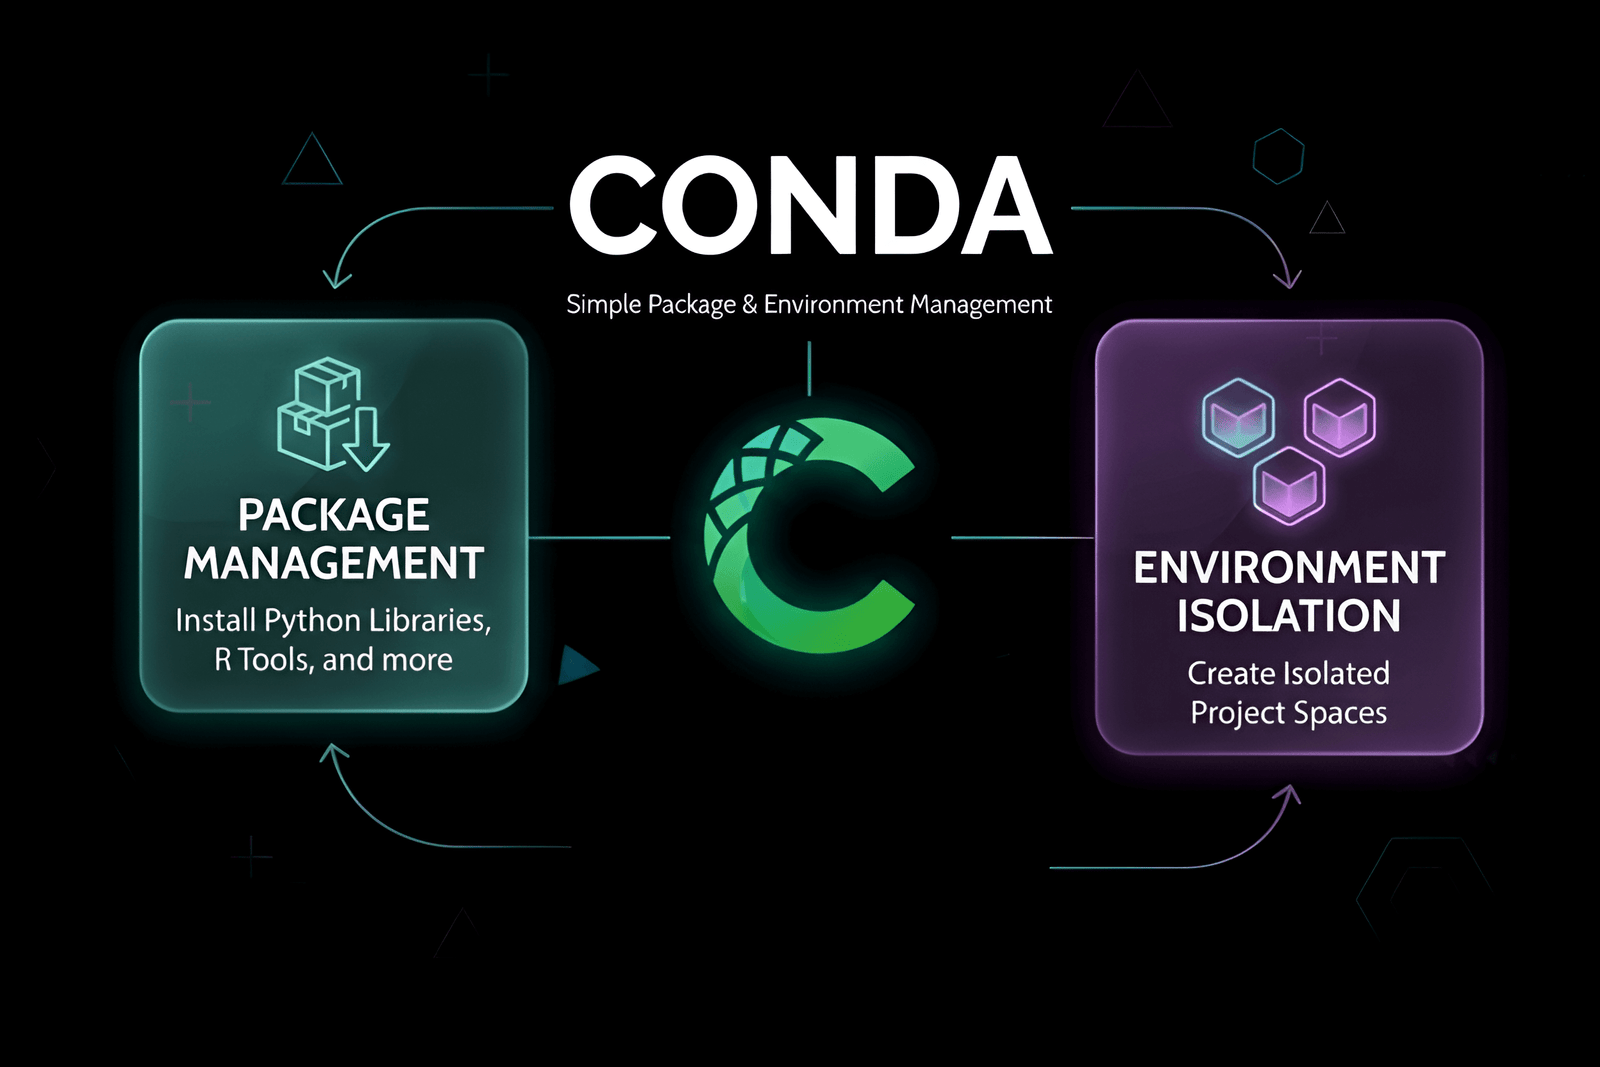
What Is a Conda Environment?
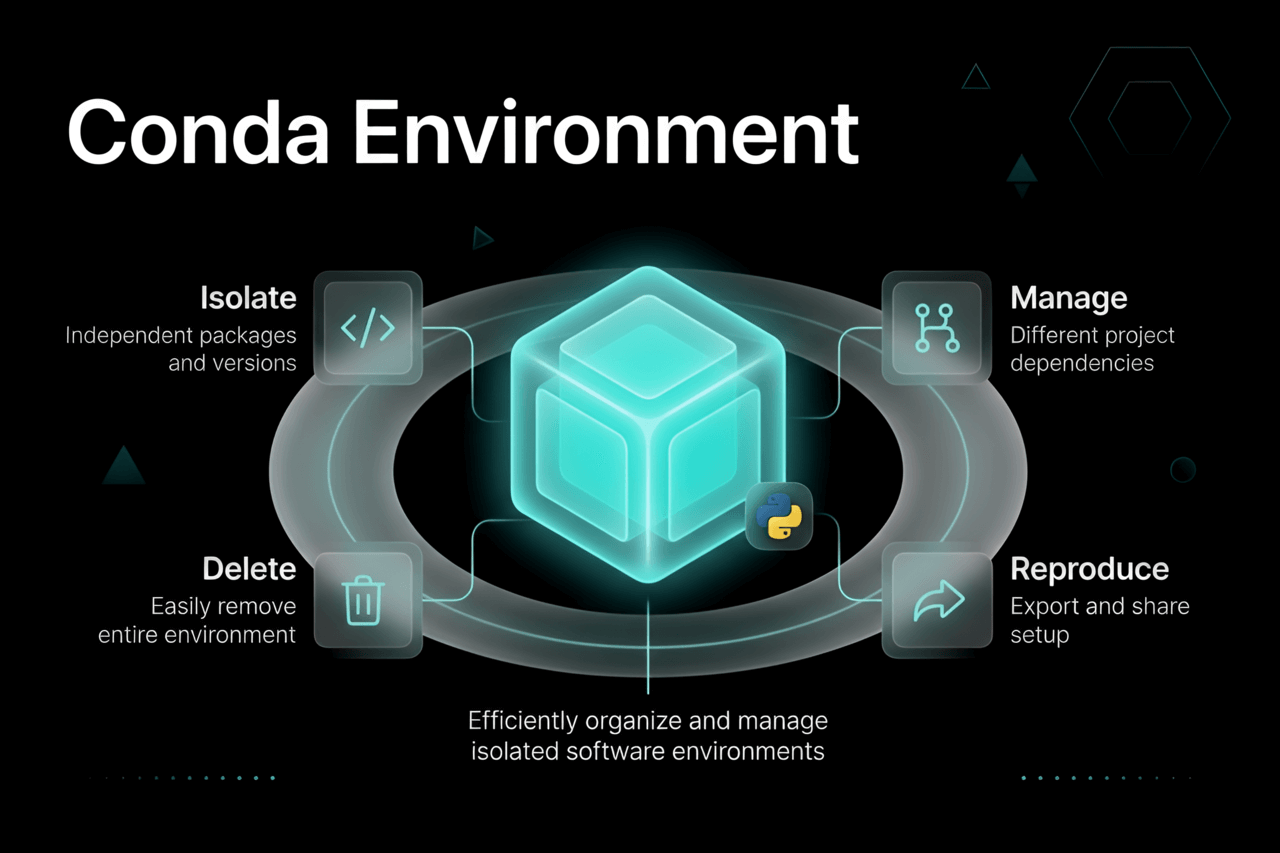
If you're new here, think of a Conda environment as a little "bubble" or an isolated room on your computer. Inside that room, you’ve got a specific version of Python and a specific set of tools (packages) for one project. This isolation is a lifesaver because it means Project A doesn’t accidentally break Project B just because they need different versions of the same library.
When you "activate" an environment, you’re basically walking into that room. Conda tweaks your system settings so that when you type python, it uses the one in that specific bubble.
- These bubbles live in a folder called
envsinside your main Anaconda or Miniconda installation. - Each one has its own set of scripts and configuration files that don't talk to each other unless you tell them to.
But eventually, you finish a project or a tutorial, and that "room" just sits there taking up space. That’s when it’s time to move out.
Why Delete a Conda Environment?

Why not just leave them there? Well, a few reasons:
- Reclaiming Disk Space: These things aren't small. If you're using heavyweights like PyTorch or TensorFlow, a single environment can eat up hundreds of megabytes (or even gigabytes) of storage.
- Reducing Clutter: If you have 50 environments, finding the one you actually need becomes a chore.
- Starting Fresh: Sometimes an environment just gets... weird. Dependency conflicts start happening, and honestly, it’s usually faster to just delete it and recreate it than to spend three hours debugging it.
- Security: Old environments often have outdated packages with security holes. If you don't need it, kill it.
Best practice: If you think you *might* need that setup again, run
conda env export --name myenv > myenv.ymlbefore you delete it. It’s basically a "save game" file for your environment.
How to List Conda Environments
First things first: you need the exact name of the target. Don't guess. Pull up the list with this:
conda env list # or conda info --envsYou'll see a list of everything on your system. The one you are currently standing in will have a little asterisk (*) next to it, like this:
# conda environments: # base * /Users/youruser/anaconda3 myenv /Users/youruser/anaconda3/envs/myenv projectX /Users/youruser/anaconda3/envs/projectXDeactivate the Current Environment
Here is a common "gotcha": you can't delete a room while you're still standing in it. If the asterisk is next to the environment you want to destroy, you need to step out first:
conda deactivateThis drops you back into your base environment (the default one).
How to Delete a Conda Environment and All Packages
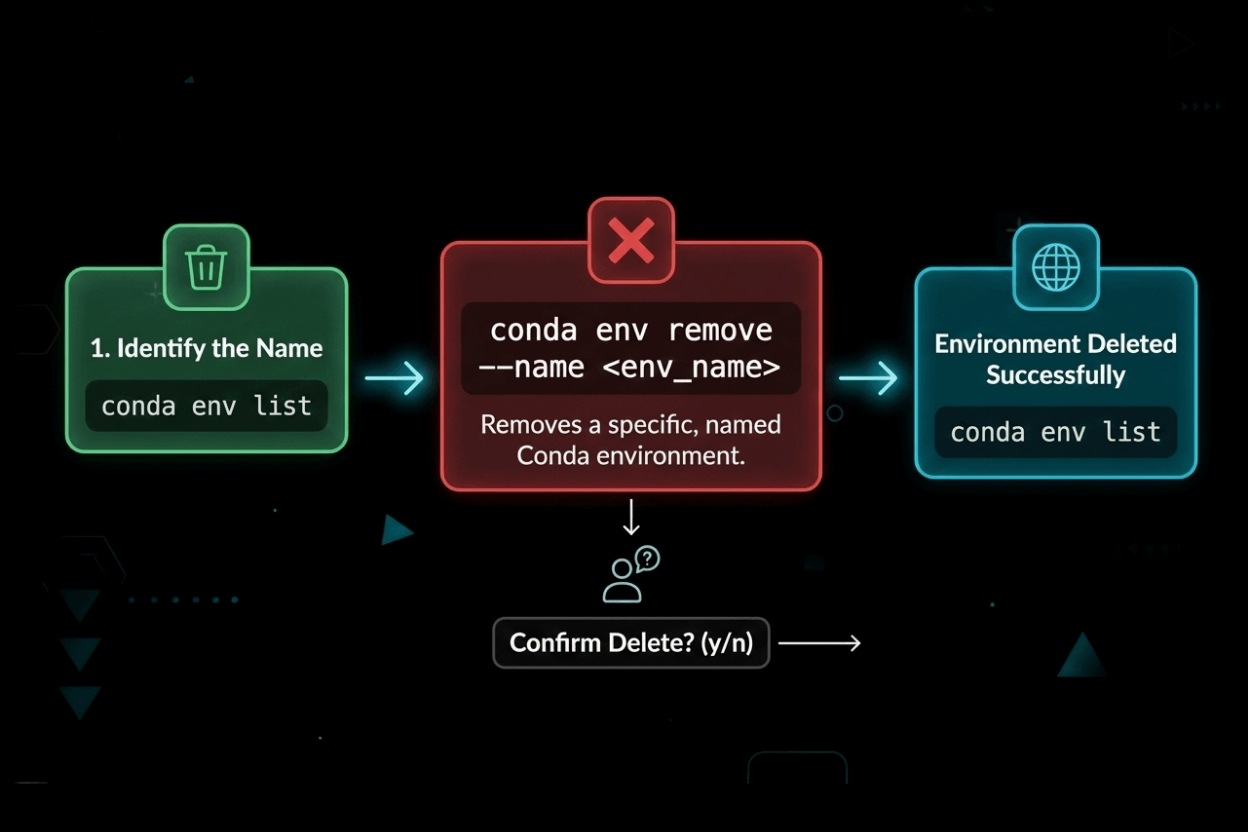
Now for the main event. To wipe the environment and every single package inside it, run this:
conda env remove --name myenv- Just swap out
myenvfor whatever yours is named. - Conda will double-check things and then start deleting everything in that folder.
You'll see a confirmation message telling you it's removing all the packages. Once it's done, it’s gone.
Alternative: Remove by Path
Sometimes names get confusing, especially if you have multiple versions. You can also point Conda directly to the folder:
conda env remove --prefix /Users/youruser/anaconda3/envs/myenvThis is a "surgical" way to make sure you're deleting the exact folder you intend to.
Verify Environment Removal
I’m a "trust but verify" kind of person. After the command finishes, run the list again just to be sure:
conda env listIt should be missing from the list. If you really want to be certain, check the actual folder on your drive:
ls ~/anaconda3/envs/Troubleshooting Conda Environment Removal
"The folder is still there!"
Every now and then, Conda leaves a "ghost" folder behind. This usually happens if a file was locked by another program or if there was a weird permission hiccup.
The Manual Delete
If Conda didn't finish the job, you can do it manually. Just make sure the environment is definitely deactivated first.
- Go to your
envsfolder. - Delete the folder yourself.
rm -rf ~/anaconda3/envs/myenvOn Windows? Use File Explorer or the rmdir command in your prompt:
rmdir /S /Q C:\Users\youruser\anaconda3\envs\myenvPermission Denied
If your computer tells you "No" when you try to delete something, you might need admin rights. On Linux or Mac, that usually means adding sudo to the manual delete command:
sudo rm -rf ~/anaconda3/envs/myenvJust be careful with sudo rm -rf. Double-check that path so you don't accidentally wipe your whole computer!
Best Practices for Conda Environment Management
- Name them well: Don't use
test1. Usescraping-projectorpytorch-experiment. Future you will thank you. - Save the recipe: Always keep that
environment.ymlfile handy so you can rebuild it in seconds if you ever need it back. - The Sunday Clean: Once a month, run
conda env listand delete anything you haven't touched in weeks.
Further reading: Managing projects is about more than just deleting folders. Check out our SEO for New Website Checklist—it has some great overlap with general project hygiene.
Conda Remove vs. Conda Env Remove: What’s the Difference?
This trips people up all the time. Here is the short version:
conda removeis for taking *one* specific package out of a room.conda env removeis for burning the whole room down.
If you want the environment gone, always use env remove.
How to Delete All Conda Environments
If you want to go "nuclear" and delete everything except the base environment, you can use a little script magic (on Mac/Linux):
for env in $(conda env list | awk '{print $1}' | grep -v '^#' | grep -v 'base'); do conda env remove --name $env doneWindows users, it’s probably safer to just do them one by one or manually delete the folders in the envs directory.
Freeing Up Disk Space After Removal
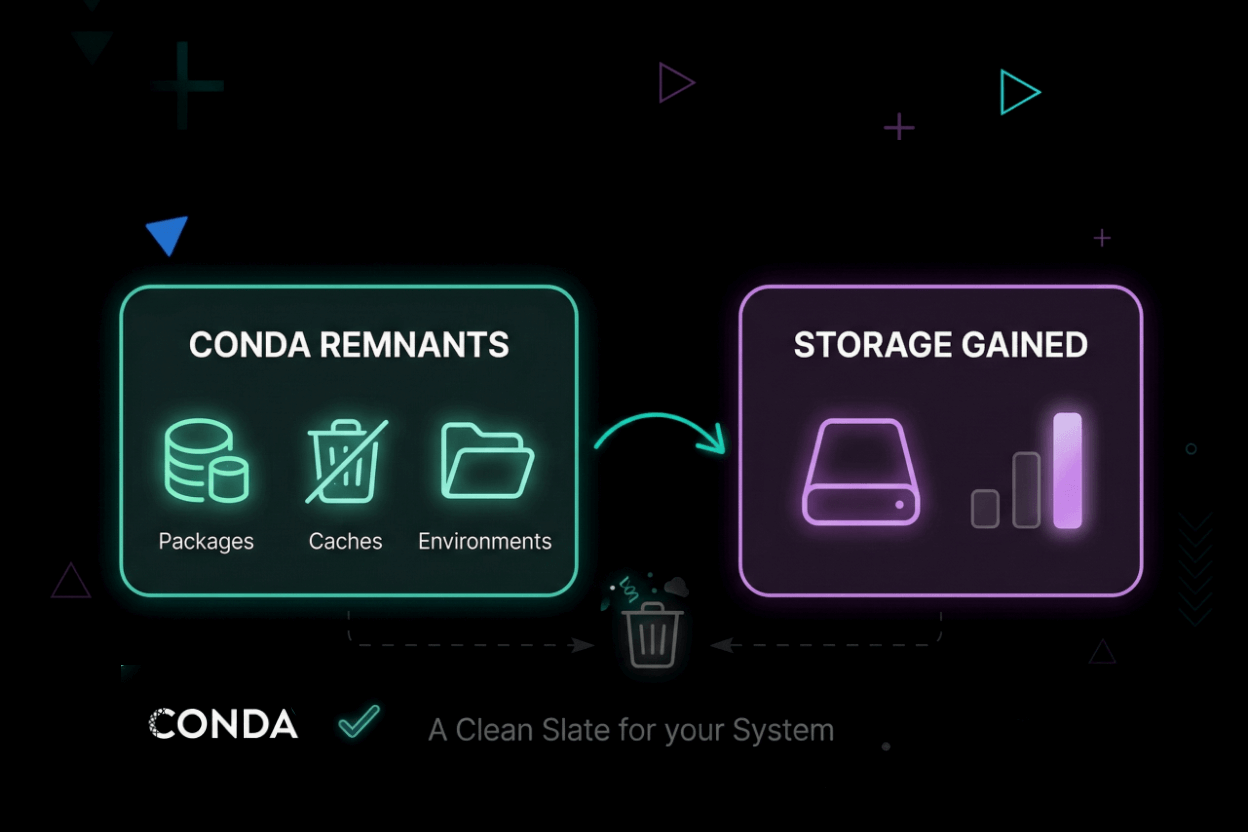
Even after you delete an environment, Conda likes to keep "cached" versions of packages in a hidden folder just in case you want to install them again later. If you really want to clear out your drive, run this:
conda clean --allThis will wipe out all those old, unused installer files. It’s usually a pretty satisfying amount of space.
Conda Environment Removal FAQ
Does deleting one environment hurt the others?
Nope. They are totally separate bubbles. You can delete one without any risk to the others.
Can I get it back?
Only if you saved the .yml file. Once it's deleted, the packages are uninstalled. You’ll have to download them again to recreate it.
What about stuff I installed with Pip?
Conda is smart enough to handle that. When you delete the environment, the pip packages inside it go away too.
Resources and Further Reading
Deleting a Conda environment shouldn't be scary. With conda env remove --name myenv, you can keep your machine lean and mean. Just remember to deactivate first and do a quick conda clean afterward to really finish the job.
Keeping your dev environment tidy is one of those small habits that makes a huge difference in the long run. Happy coding!
Ready to optimize your workflow? Explore our guides on How To Create Flutter Project and Best way to write a prompt for more productivity tips.