
Let's be totally honest for a second. Starting a brand new web project can sometimes feel like trying to assemble IKEA furniture without the manual. But Laravel 12? It's honestly a breath of fresh air. It’s the latest massive update to the PHP world's favorite framework, and it basically hands you a perfectly structured toolkit to build anything from a tiny blog to a massive SaaS app.
If you've never touched Laravel—or maybe you're just moving over from a different language—getting everything installed might sound like a huge headache. But don't stress. As long as you follow the right order of operations, you'll have a blank Laravel 12 canvas up and running on your local machine before your coffee even gets cold. I’m going to walk you through every single step, from checking your laptop's requirements to fixing those annoying random errors that always seem to pop up.
Grab your terminal, and let's actually get this thing built.
Pro tip: Just a quick heads-up: Laravel 12 brings some serious under-the-hood changes and new server requirements. If you are trying to port an older project over, you absolutely need to read through the official upgrade guide before doing anything else.
Why Choose Laravel 12?
Why is literally everyone still obsessed with PHP and Laravel in 2026? Because it just gets out of your way and lets you code. Laravel 12 doubles down on what makes the framework great: it's incredibly fast, the developer tools are top-tier, and it fully embraces the power of PHP 8.2+.
- Modern PHP support: It plays perfectly with PHP 8.2 and up, meaning you get to use all the shiny new language features without any weird workarounds.
- Robust ecosystem: You don't have to reinvent the wheel. Tools like Laravel Breeze, Jetstream, and Sail give you a massive head start on things like login systems and local servers.
- Security by default: Nobody wants to get hacked. Laravel handles CSRF protection, secure cookies, and password hashing right out of the box.
- Easy testing and debugging: Finding bugs is way less painful thanks to deep PHPUnit integration and a gorgeous error-reporting screen.
- Scalable architecture: Whether you are hacking together a quick weekend project or building a microservice architecture, it scales effortlessly.
Basically, if you need to build something for the web, Laravel 12 is arguably your best starting point.
Prerequisites for Laravel 12 Installation
Hold up. Before we start blindly copying and pasting commands into the terminal, we need to do a quick reality check on your computer's setup. You can't build a house without a foundation.
- PHP: You absolutely need version 8.2 or higher. (And double-check that you have these extensions turned on: OpenSSL, PDO, Mbstring, Tokenizer, XML, Ctype, JSON, BCMath, Fileinfo).
- Composer: The undisputed king of PHP package management (download here).
- Database: You’ll need a place to store data. MySQL 8+, PostgreSQL, SQLite, or SQL Server will do the trick.
- Web server: Apache or Nginx. Honestly, for local dev, Laravel’s built-in server is all you need.
- Node.js & npm: (Totally optional, but you'll want this if you plan on compiling frontend stuff with Vite or Tailwind).
To see what PHP version you're rocking, run this:
php -vTo verify Composer is actually installed, run:
composer --versionMissing something? Go grab it now. If you're on Windows, tools like Laragon or XAMPP are lifesavers. Mac users, just use Homebrew. Linux users... well, you already know what to do with your package manager.
Further reading: Want to make sure your site is prepped for search engines right out of the gate? Skim through our SEO for New Website Checklist (a lot of it applies while you're structuring your Laravel routes).
Step 1: Install Composer
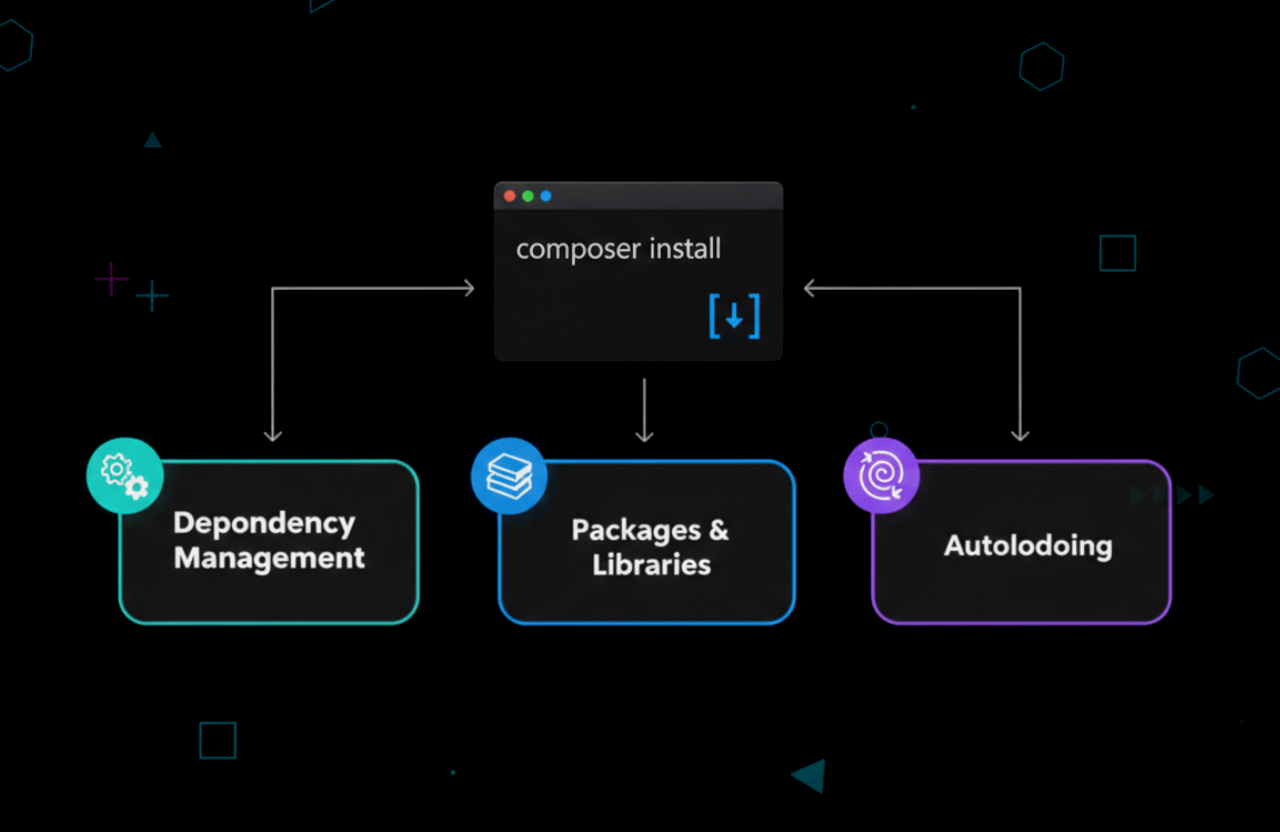
Think of Composer as your personal assistant. It fetches all the third-party code your project needs so you don't have to download ZIP files like it's 2005. If it's not on your machine yet, head to getcomposer.org.
- Windows: Just download the `.exe` installer and click "Next" a bunch of times. It's foolproof.
- macOS/Linux: Open your terminal and paste this monster of a command:
php -r "copy('https://getcomposer.org/installer', 'composer-setup.php');" php composer-setup.php php -r "unlink('composer-setup.php');" sudo mv composer.phar /usr/local/bin/composerLet's make sure it didn't break:
composer --versionIf you see a version number pop up, you are officially ready for the fun part.
Step 2: Create a New Laravel 12 Project
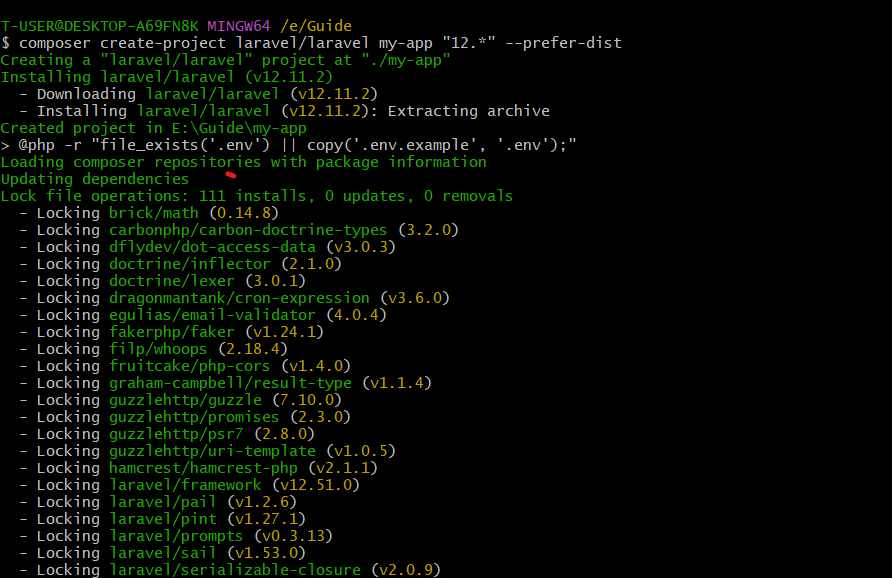
Alright, prep work is done. Navigate to whatever folder you keep your code in, open your terminal, and run this:
composer create-project laravel/laravel my-app "12.*" --prefer-dist
Feel free to change my-app to whatever you want to call your project. Composer will reach out to the internet, pull down Laravel 12, and set up the entire folder structure for you.
When the loading bar finally finishes, jump into your new directory:
cd my-appIf you open this in VS Code, you'll see a bunch of folders:
- app/
- bootstrap/
- config/
- database/
- public/
- resources/
- routes/
- storage/
- tests/
- vendor/
Don't let it overwhelm you. It's just beautifully organized so your code doesn't turn into spaghetti later.
Tip: Want a massive head start with login screens and user dashboards already built? Look into Laravel Jetstream or Breeze over at the official docs.
Step 3: Configure Environment Variables
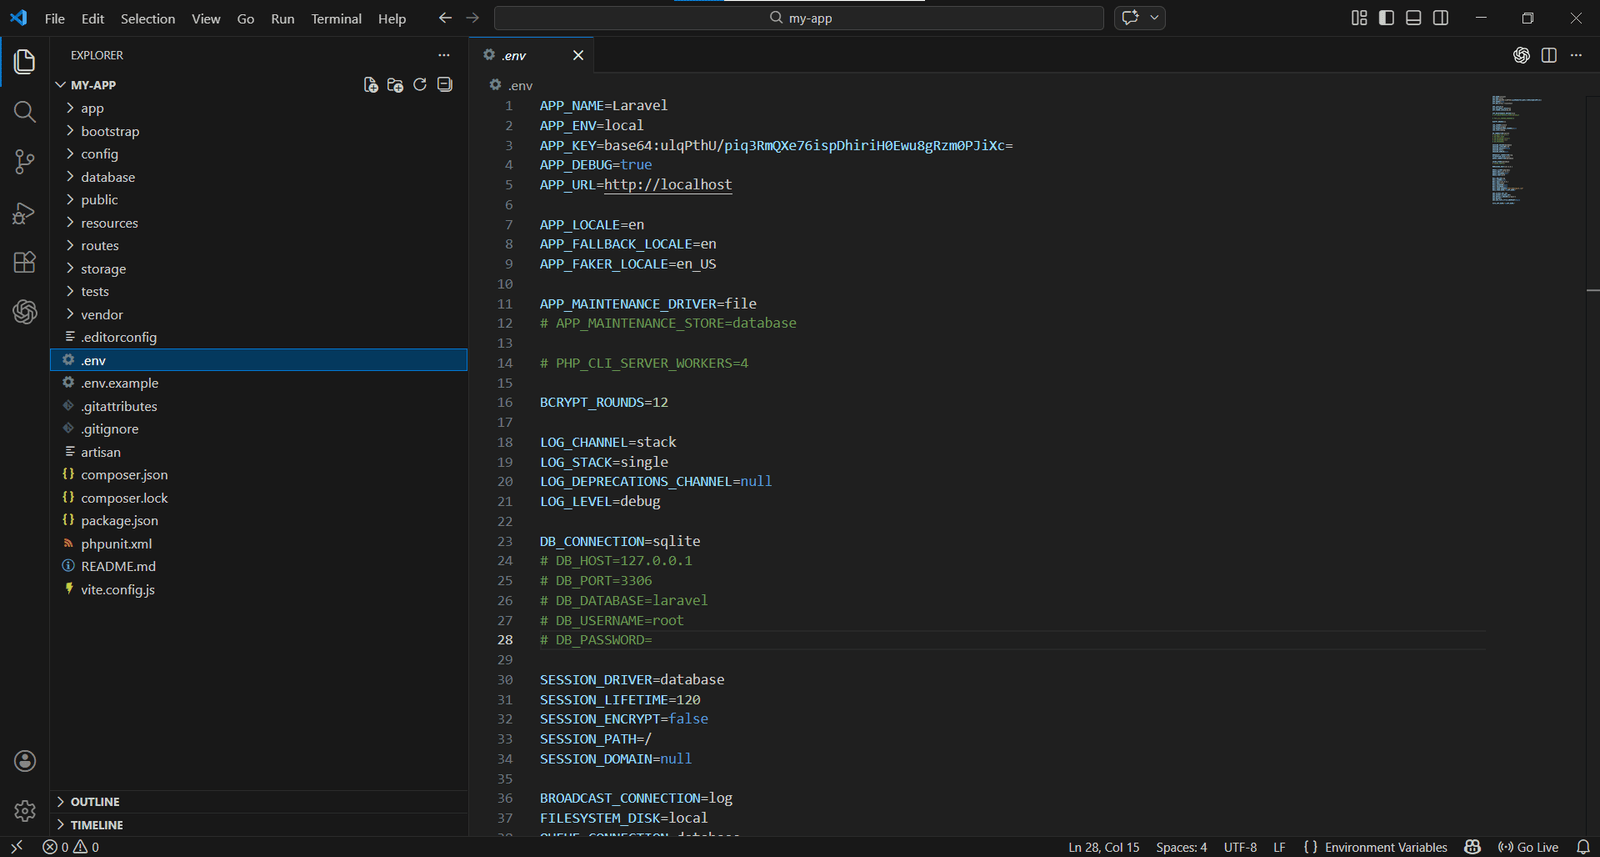
Your `.env` file is basically the secret vault for your application. It holds API keys, database passwords, and stuff you absolutely do not want to upload to GitHub. Laravel gives you a dummy file to start with.
- First, make a copy of the example file and rename it to just `.env`:
cp .env.example .env- Next, you need to generate a cryptographic key. This keeps your user sessions secure:
php artisan key:generateThat command injects a random string of characters into the APP_KEY slot in your `.env` file. Do not skip this step!
Pop open that `.env` file in your code editor. We need to mess with the database settings next.
Step 4: Set Up Your Database
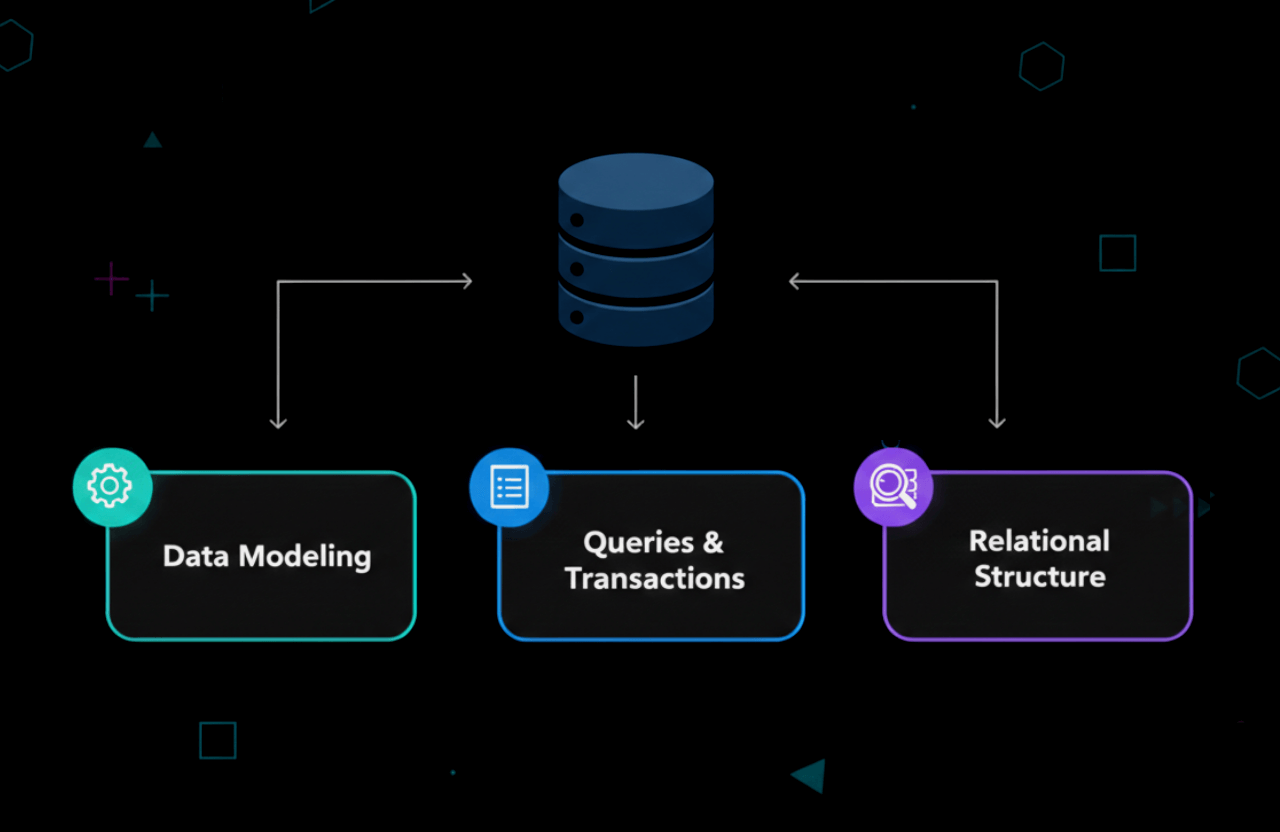
An app without a database is just a static brochure. Laravel plays nice with MySQL, PostgreSQL, SQLite, and SQL Server. Most people just stick with MySQL or SQLite for local dev.
Find the database block in your .env file and update it to match your local setup:
DB_CONNECTION=mysql DB_HOST=127.0.0.1 DB_PORT=3306 DB_DATABASE=laravel12 DB_USERNAME=root DB_PASSWORD=Now, actually go into your database manager (like phpMyAdmin, TablePlus, or the CLI) and create an empty database with that exact name:
CREATE DATABASE laravel12;Hit save. Laravel now knows exactly where to send your data.
Further reading: Dealing with backend databases can be tricky. We cover similar architectural concepts in our Flutter project creation guide if you want to see how mobile apps connect to these APIs.
Step 5: Run Database Migrations
Migrations are essentially version control for your database tables. Instead of manually creating columns and rows like a caveman, you just run a single command and Laravel builds the default tables (like users and password resets) for you:
php artisan migrateIf everything is hooked up correctly, you’ll get a bunch of green "Migration table created successfully" messages. Go peek at your database—you should see actual tables sitting there now.
If it crashes with a red error? 99% of the time you just made a typo in your `.env` credentials, or your MySQL server isn't actually running.
Step 6: Install Frontend Dependencies (Optional)

If you're using Laravel to serve up HTML views (maybe using Vite to compile Tailwind CSS or Vue.js), you're going to need Node.js installed. From the root of your project folder, run:
npm install npm run devThis triggers Vite to start watching your CSS and JS files for changes. Honestly, if you are just building a headless API to connect to a mobile app, you can completely ignore this step.
Step 7: Start the Development Server

Moment of truth. Laravel has a tiny, built-in server that is perfect for testing things locally. Boot it up:
php artisan serveOpen your favorite browser and navigate to http://localhost:8000. If you see the sleek, branded Laravel 12 welcome page, take a breath. You did it. The installation is perfectly completely.
Tip: Don't try to use `php artisan serve` for a real, live website. When it's time to launch, deploy it properly on Nginx or Apache. Read up on the official deployment guide so you don't mess up your server.
Troubleshooting Common Installation Issues
Look, things break. It happens to literally every developer. If your screen is throwing angry errors, here is how to fix the usual suspects:
- Composer Memory Limit Errors: PHP sometimes runs out of RAM while downloading packages. Force it through by running
COMPOSER_MEMORY_LIMIT=-1 composer create-project ... - Missing PHP Extensions: Laravel will yell at you if you're missing a required extension. On Ubuntu, it's usually as easy as running
sudo apt install php-mbstring php-xml. - Database Connection Refused: Double and triple-check your
.envfile. Is your DB password correct? Is MySQL actually turned on? - Permission Issues: If you get a blank white screen or a "cannot write to storage" error, you need to fix your folder permissions. Run
chmod -R 775 storage bootstrap/cache. - Port Already in Use: Got another app running on port 8000? Just tell Laravel to use a different one:
php artisan serve --port=8080.
Still stuck? Drop the error code into Google, or search the Laracasts discussion forums and Laravel’s GitHub issues page.
Next Steps After Installation
Alright, you've got a working Laravel 12 environment. What now? Don't just stare at the welcome screen. Here is what you should do next:
- Explore the directory structure: Poke around the folders. Get comfortable knowing where your controllers, models, and routes live.
- Set up authentication: Pull in Laravel Breeze. It takes two minutes and gives you a fully working login/register system.
- Configure version control: Run `git init` and push your pristine, untouched code to GitHub before you accidentally break something.
- Install helpful packages: Building an API? Grab Sanctum. Want to charge users money? Install Cashier.
- Read the docs: I'm serious. The official Laravel 12 documentation reads like a well-written book. It is the best resource on the internet.
Related: As you start building out your pages, make sure you aren't ignoring search engines. Check out our breakdown on SEO Onpage vs Offpage Optimization.
Laravel 12 Installation on Shared Hosting or Cloud
Running code on your laptop is fun, but eventually, you have to put it on the internet. Deploying Laravel is a whole different beast:
- Shared hosting: If you're using cheap cPanel hosting, you'll need to upload your files via FTP, point your server's document root specifically to the
public/folder, and pray they support PHP 8.2. - Cloud (VPS): If you spun up a DigitalOcean droplet or AWS instance, you'll SSH in, install PHP/Composer, clone your Git repo, and run
composer installmanually. - Managed Laravel hosts: Honestly? Just pay for Laravel Forge or Ploi. They connect to your server and handle the entire deployment process automatically. It is worth every penny.
Never, ever forget to update your .env file on the live server and turn off debug mode. For more hosting advice, peep our Best WordPress Hosting Providers guide—a lot of the server logic overlaps with PHP apps.
Frequently Asked Questions
Can I install Laravel 12 globally?
You can, but it's kind of the old-school way of doing it. The modern, recommended way is just using Composer's create-project command. If you really want the global installer, run composer global require laravel/installer, and then you can just type laravel new project-name anywhere on your machine.
How do I upgrade from Laravel 11 to 12?
Don't just blindly update your packages; things will break. Carefully read the upgrade guide. You'll basically update your composer.json to require laravel/framework ^12.0, run a composer update, and fix any deprecated functions in your code.
What is Laravel Sail?
Sail is a brilliant little tool that lets you run Laravel inside Docker containers. You don't have to install PHP or MySQL directly on your Mac or Windows machine. You just run composer require laravel/sail --dev and boot it up with ./vendor/bin/sail up. It keeps your computer completely clean.
How do I deploy Laravel 12 to production?
Get a server running PHP 8.2+. Set up your database, configure your production .env file, and run composer install --optimize-autoloader --no-dev so it runs fast. Don't forget to lock in your performance by running php artisan config:cache and php artisan route:cache.
Getting Laravel 12 up and running really isn't that scary once you understand what Composer and the terminal are actually doing. Take the time to get your local environment dialed in properly, and it will save you hundreds of hours of debugging later on.
Now that you have a blank canvas, go build something awesome. If you ever get stuck, the official documentation and the crazy-active Laravel community on Twitter/X and Reddit have your back.
Happy coding!