Let’s be completely real for a second. If you run a business today, you're relying on automation. Most of us cut our teeth on Zapier. It’s friendly, it's easy to use, and it connects to almost everything. But eventually? You hit a wall. Maybe the monthly bill is getting out of hand, or maybe you're trying to build a massive, multi-branch workflow that Zapier just refuses to handle without a messy, confusing workaround.
That is exactly when people start side-eyeing Make (the platform we all used to call Integromat).
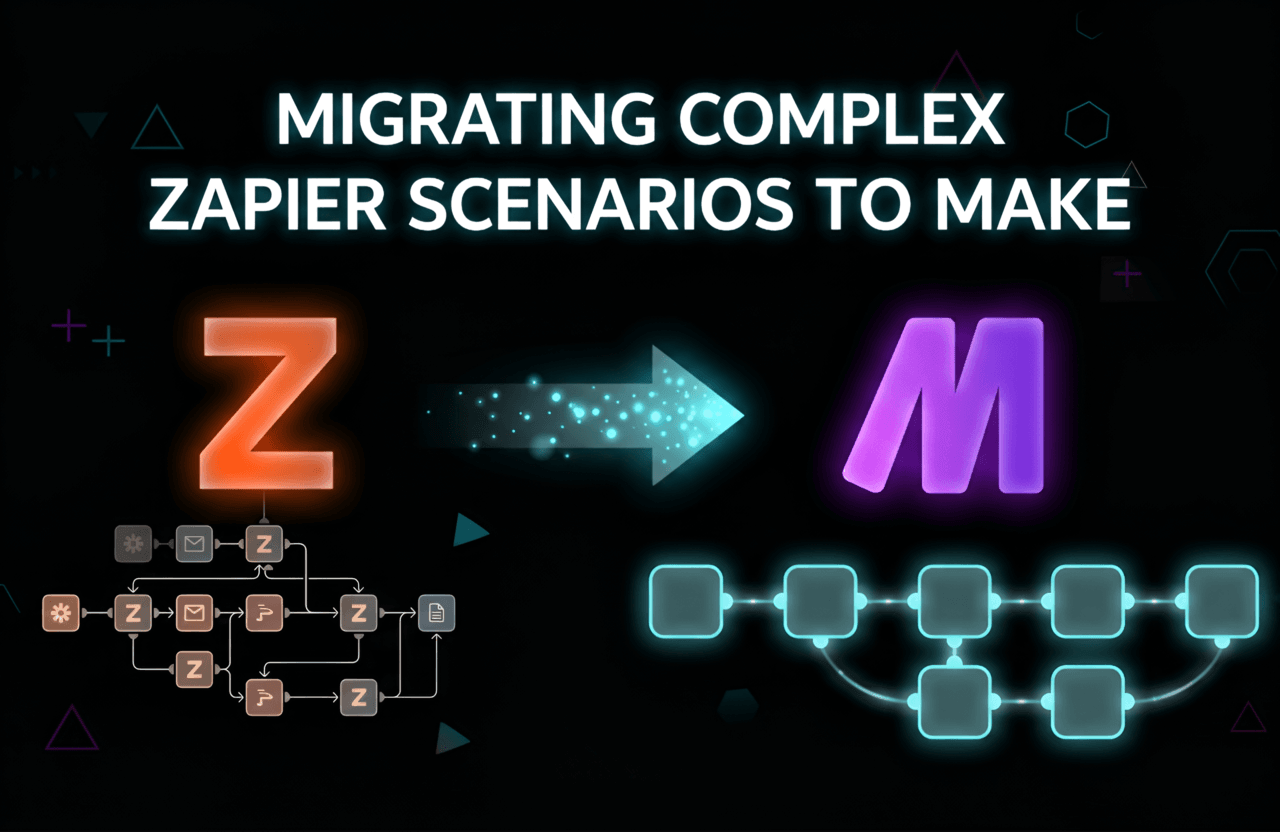
Here is the hard truth, though: moving a massive, 15-step scenario from Zapier over to Make isn't just a simple copy-paste job. These two platforms "think" differently. They handle data formatting, branching paths, and errors in their own unique ways. If you just rush in and try to rebuild it blindly, things will break.
If you want to do this right, you need a game plan. This guide is going to walk you through exactly how to transition those heavy-duty workflows over to Make. We'll look at how to map out your current setup, translate the Zapier logic into Make's visual canvas, and test it so your business doesn't accidentally send the wrong email to a hundred clients.
Quick tip: Don't look at this as just a copy job. Migrating is honestly your best excuse to clean house, fix broken logic, and build a much faster, cleaner system using Make's advanced tools.
Why Are People Actually Ditching Zapier for Make?
Before we start clicking buttons, let’s talk about why so many operations teams are making this exact switch in 2026:
- Branching that actually makes sense: Zapier's Paths are okay, but Make uses Routers. You can split a workflow into infinite visual branches, filter them, and merge them back together effortlessly.
- The Pricing Reality: Make generally gives you way more actions per dollar. If you process thousands of tasks a day, the cost savings are usually massive.
- Data juggling: Make lets you use built-in formulas (like Excel on steroids) right inside the modules to manipulate text, dates, and math without needing a separate formatter step.
- Total API freedom: If an app doesn't have a native integration, Make’s HTTP modules make it incredibly easy to just build your own custom API calls.
- You can actually see the data: When a scenario runs in Make, little bubbles pop up showing you exactly what data moved from point A to point B. It makes fixing bugs ten times faster.
Want to dig deeper? Take a look at the official Make Help Center to see exactly what their modules can do.
Step 1: Take Inventory of Your Current Zaps
Do not open Make yet. Seriously. First, you need to know exactly what you are moving. Grab a spreadsheet and document every single step of your current Zap:
- The Spark: What exactly triggers this workflow? A specific webhook? A tagged email?
- The Actions: List every single thing that happens afterward.
- The Logic: Where does the workflow split? What are the exact filter conditions?
- Custom Code: Did you write any random Python or JavaScript snippets to fix formatting? Note them down.
- The Glue (Data Mapping): How does step 3 know what happened in step 1? Write down the specific variables you are passing through.
This spreadsheet is going to be your absolute lifeline when you start rebuilding.
Pro tip: Take a ton of screenshots of your Zapier setup right now. Capture the filters, the mapped fields, and the code boxes. You will thank yourself later.
Step 2: The Translation Cheat Sheet
Make and Zapier generally do the same things, but they speak different languages. Here is how you translate your Zapier tools into Make's visual builder:
| In Zapier, it's called... | In Make, you use... |
|---|---|
| A Zap | A Scenario |
| Trigger | The very first Trigger module (Watch events, Webhooks) |
| Action Step | An Action module |
| Paths / Filters | A Router module followed by Filter settings on the connecting lines |
| Formatter by Zapier | Built-in Text/Number formulas, or the "Set Variable" tool |
| Code by Zapier | The Text parser, or specific JavaScript modules |
| Webhooks by Zapier | The Webhooks or HTTP modules |
| Delay by Zapier | The "Sleep" tool |
You'll quickly notice that Make gives you a lot more freedom. Instead of being forced into a straight line, you can build loops (Iterators) and group data together (Aggregators) in ways Zapier just can't handle gracefully.
Resource: Always double-check Make’s app directory to make sure the services you use are natively supported.
Step 3: Get Your Accounts Ready
Before you drag a single module onto the canvas, get your housekeeping out of the way:
- Connect your apps: Log into Make and authenticate all your accounts (Slack, Gmail, Salesforce, whatever you use). Have your API keys handy.
- Reroute Webhooks: If your old Zap relied on catching a webhook, Make is going to generate a brand new URL for you. You need to go into your external apps and paste that new URL in.
- Grab sample data: Go to Zapier, find a successful run of your old Zap, and copy the raw JSON data. You can shoot this into Make to help set up your mapping.
Step 4: Building the Actual Scenario
Alright, time for the fun part. Let's rebuild this thing on Make’s visual canvas:
- Drop the Trigger: Put your starting module in the center. Connect it to your account and test it to pull in some sample data.
- Add the Actions: Click the little plus icon and start snapping your action modules together.
- Map the Data: Click into a module. You'll see a panel pop up on the right. Drag and drop the data pills from your trigger step into the empty fields.
- Use Routers for Logic: Need the workflow to do three different things at once? Drop a Router. Click the little wrench icon on the lines connecting the modules to set up your specific Filters.
- Handle the Code: If you had custom formatting in Zapier, try using Make's built-in formulas first (they look a lot like Excel formulas). If it's too complex, use the HTTP module or custom scripting.
- Build a safety net: Right-click a module and add an "Error Handler." You can literally tell Make, "If this API fails, wait 5 minutes and try again, or send me a Slack message."
Resource: If the visual canvas feels overwhelming, spend 10 minutes skimming Make’s scenario building guide.
Step 5: Testing (Please Don't Skip This)
Never just turn a complex scenario on and walk away. You have to break it first to make sure it works.
- Run it once: Hit the "Run Once" button in the bottom left. Push some test data through the trigger.
- Watch the bubbles: Click the little magnifying glass bubbles that appear above each module. Check the "Input" and "Output" bundles. Did the data map correctly? Did a date format get messed up?
- Test the weird stuff: What happens if a client forgets to fill out a form field? Will your scenario crash? Push some bad data through and make sure your error handlers catch it.
Step 6: Flipping the Switch
Everything looks green? Awesome. Turn the scenario ON. But your job isn't quite done yet.
- Kill the old Zap: Go immediately into Zapier and turn the old workflow off. If you leave both running, you are going to send duplicate emails to your clients and create a massive headache.
- Watch it like a hawk: Keep an eye on your Make dashboard for the first 48 hours. Look at the history logs to ensure everything is firing correctly.
Pro Habits for Heavy-Duty Migrations
- Keep it modular: If your Zapier workflow was 40 steps long, don't build a 40-step monster in Make. Break it up. Have one scenario catch the data, and use webhooks to trigger smaller, specialized scenarios. It's so much easier to fix when something breaks.
- Write notes: Make lets you add text notes directly to the canvas. Use them. Explain *why* you built a filter a certain way so your future self doesn't get confused.
- Watch your operations: Make charges by the "operation" (every time a module runs). Use filters early in your scenario to stop bad data from running through the whole workflow and eating up your monthly quota.
Further reading: Curious how this fits into the bigger picture? Check out our thoughts on different business platform comparisons.
When Things Go Wrong (Troubleshooting)
- "There’s no module for my app!" Don't panic. Just use Make’s HTTP module to make an API call directly to the software. It’s intimidating at first, but incredibly powerful once you learn it.
- Arrays are acting weird: Zapier handles lists (like line items on an invoice) invisibly. Make forces you to manage them. You will need to learn how to use the "Iterator" (to split lists up) and the "Aggregator" (to put them back together).
- Webhooks aren't firing: Double check that you actually pasted the new Make URL into your third-party app, and make sure the payload format (JSON, form data) matches what Make is expecting.
Real-World Migration Examples
Scenario 1: The Messy Lead Router
The old Zap: Triggered on a Facebook Lead Ad. It used three different "Paths" to check the lead's budget, format their phone number, and push them into different HubSpot pipelines.
The Make upgrade: Caught the lead, used a Router to split the flow. Added an automatic Google Sheets lookup to find the correct sales rep, used built-in phone number formatting, and added an error handler that emails the manager if the HubSpot API times out.
Scenario 2: The E-commerce Nightmare
The old Zap: Grabbed a Shopify order, sent a Slack message, and tried to create shipping labels. It constantly broke if a customer ordered more than one item.
The Make upgrade: Uses an Iterator module to separate out every single item in the shopping cart. It processes the shipping labels individually, Aggregates the tracking numbers back into a single text block, and emails the customer a beautifully formatted receipt.
Quick FAQs
Is there a magic button to import my Zaps?
No, there is no direct importer. You have to rebuild it by hand. But honestly, forcing yourself to rebuild it is how you learn the platform and fix the lazy logic you built two years ago.
What if Make feels too technical?
It definitely has a steeper learning curve than Zapier. Take it slow. Start by migrating a really simple, 2-step Zap just to get a feel for how the data mapping works before tackling the big stuff.
Where to Go From Here
- Make Help Center – The ultimate technical manual.
- Make Community Forum – If you are stuck on a weird API error, ask here. Someone will know the answer.
- Make Templates – Steal pre-built logic from other smart people.
- Self-hosted automation alternatives – Want total control? Check out tools like n8n.
- SEO automation strategies – Make sure your new workflows are actually helping your search visibility.
Look, ripping out the digital wiring of your business and moving it to a new platform is intimidating. But once you get the hang of Make's visual canvas, you will never want to go back to a linear setup again. It opens up a whole new world of automation possibilities.
Take your time, plan it out on a spreadsheet first, and test everything. You've got this.