Let's get straight to the point. Most of the internet looks like a cheap clone factory. You buy a $50 template, ignore the typography settings, leave it on the default "Open Sans", and then complain that nobody takes your business seriously. Typography isn't just some artsy nonsense. It dictates whether a visitor trusts you with their credit card or hits the back button in three seconds.
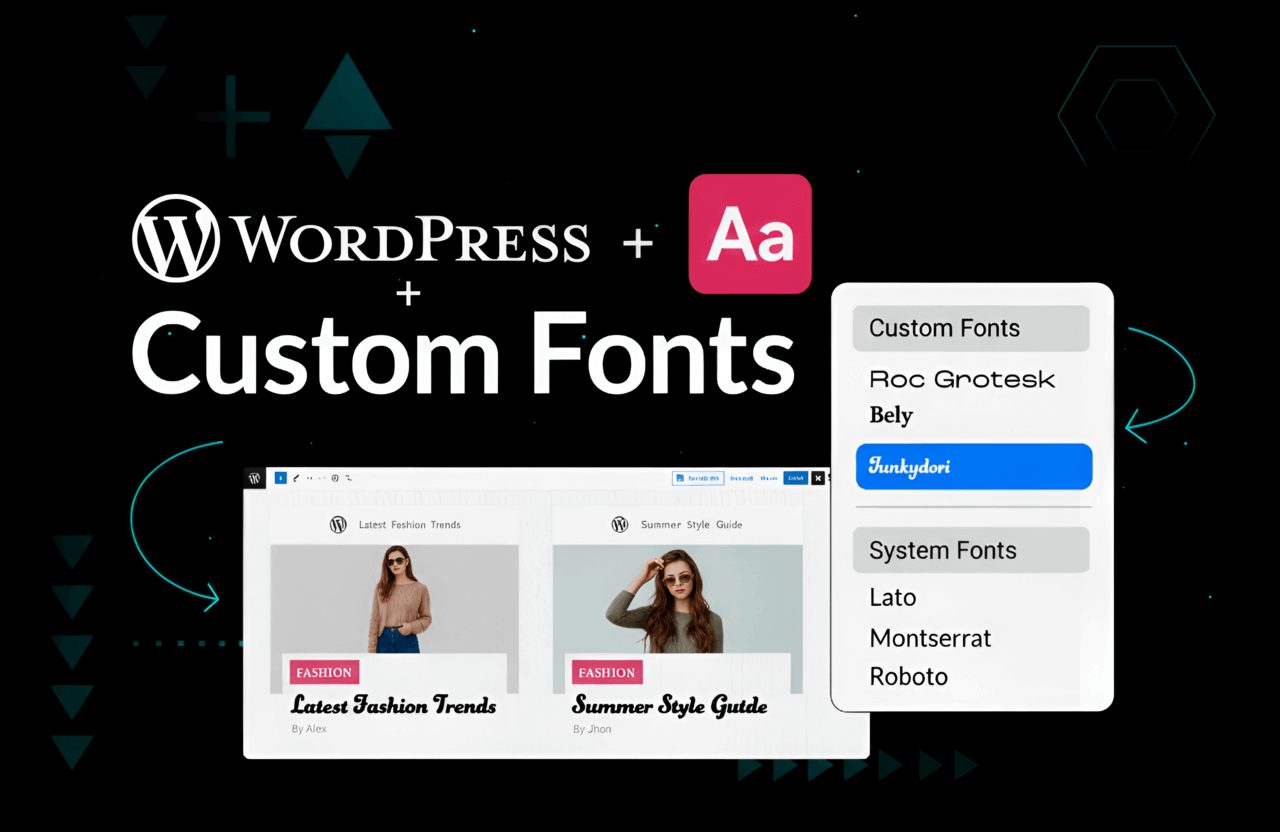
If you want to survive 2026, you cannot use the exact same default fonts as your competitors. You need your own.
And don't panic about the technical side. You do not need to be a programmer. I'm going to rip open the exact methods to force WordPress to swallow whatever custom font you want. And we'll do it without completely destroying your server speed.
Here is the raw playbook for hosting Google Fonts locally, syncing Adobe typefaces, or dumping raw files onto your server.
Quick tip: Do not steal fonts. I'm dead serious. Ripping a premium font from a shady Reddit thread will get you hit with a massive copyright lawsuit. Buy the web license or stick to open-source.
Why Add a Custom Font to WordPress?
Yes, font files are heavy. Yes, they will slow down your page if you are sloppy. So why bother? Because looking cheap is way worse than loading 0.1 seconds slower.
- Authority: A sleek logo paired with default 2010 blog text makes you look like a scam. Consistency equals trust.
- Forcing attention: Nobody actually reads anymore. They scan. A heavy, aggressive font physically forces their eyeballs to stop scrolling.
- Hierarchy: Massive custom headers tell the reader exactly where to look. You control their attention.
- Standing out: It instantly kills the "cheap template" vibe.
Further reading: Dumping heavy font files onto a cheap server will ruin you. Learn how to balance sick design with raw speed in our hardcore breakdown of SEO Onpage vs Offpage Optimization.
Understanding WordPress Font Options
There is no magic bullet. How you inject the font depends entirely on how much you hate looking at code. Pick your poison:
1. Theme Built-In Fonts
Most paid themes have a typography tab buried in the Customizer. You pick a Google Font from a dropdown. Easy. The catch? You are held hostage by whatever the theme developer decided to include.
2. Page Builder Fonts
Using Elementor or Divi? You got lucky. They have a "Custom Fonts" dashboard. Bypass the theme completely and upload your files right there.
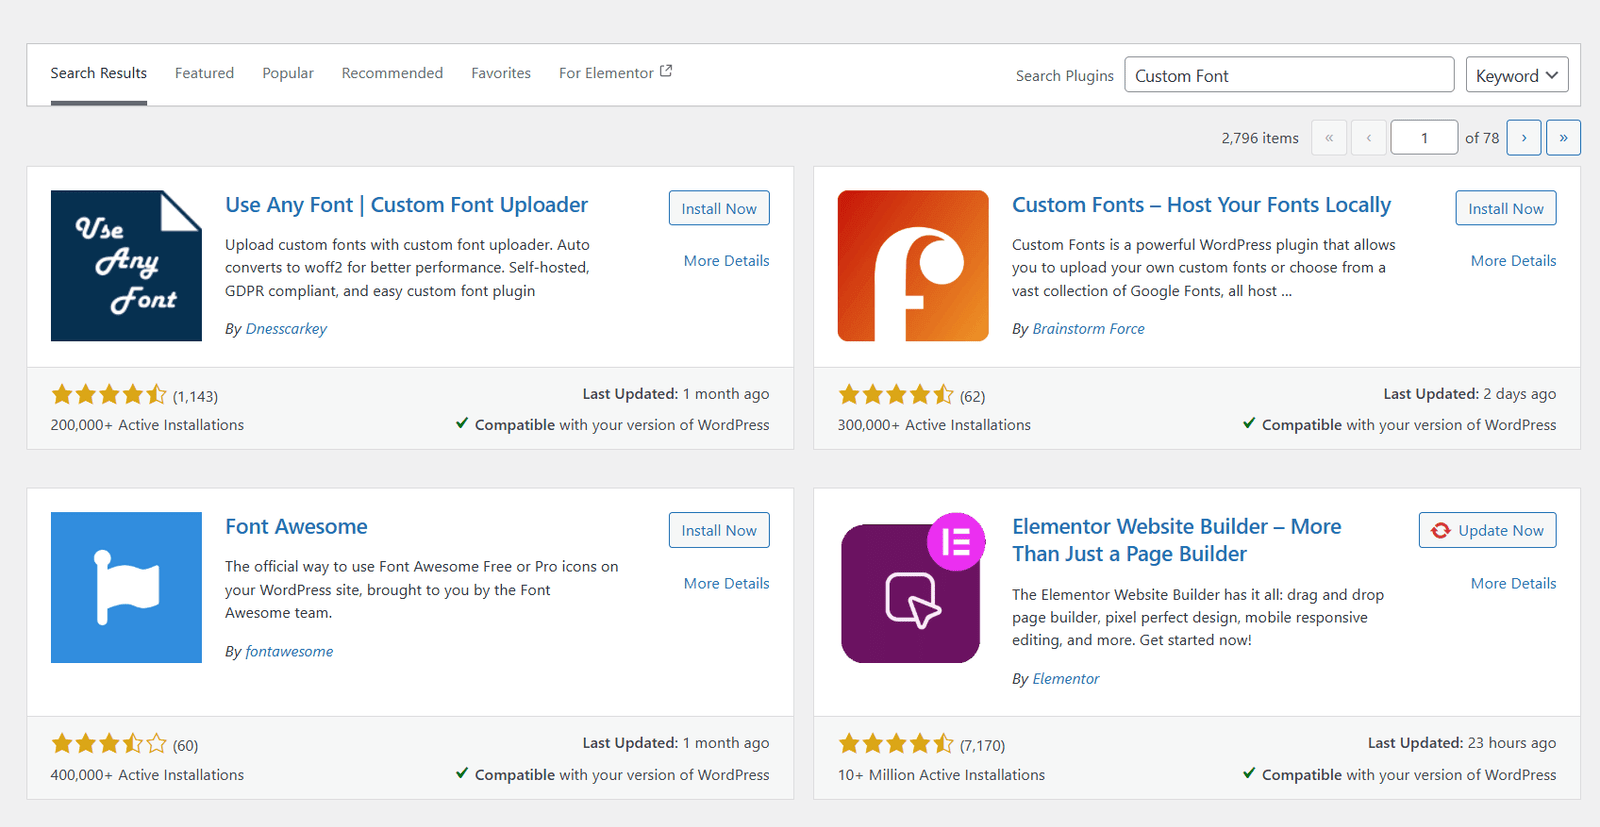
3. Custom Font Plugins
The smartest route for 99% of people. Install a plugin, upload the file, and the plugin writes the CSS code for you while you sleep. You don't break anything.
4. Manual Code Integration
This is for the speed freaks. Zero plugins. You dump the raw files into your server via FTP and hand-write the `@font-face` CSS. Do not try this if you don't know what an FTP client is.
Pro tip: Going manual? Do not edit your main theme files. The second your theme updates, all your custom code gets nuked. Build a Child Theme.
Choosing Your Custom Font
Stop downloading random `.TTF` files from virus traps. Get your typography here:
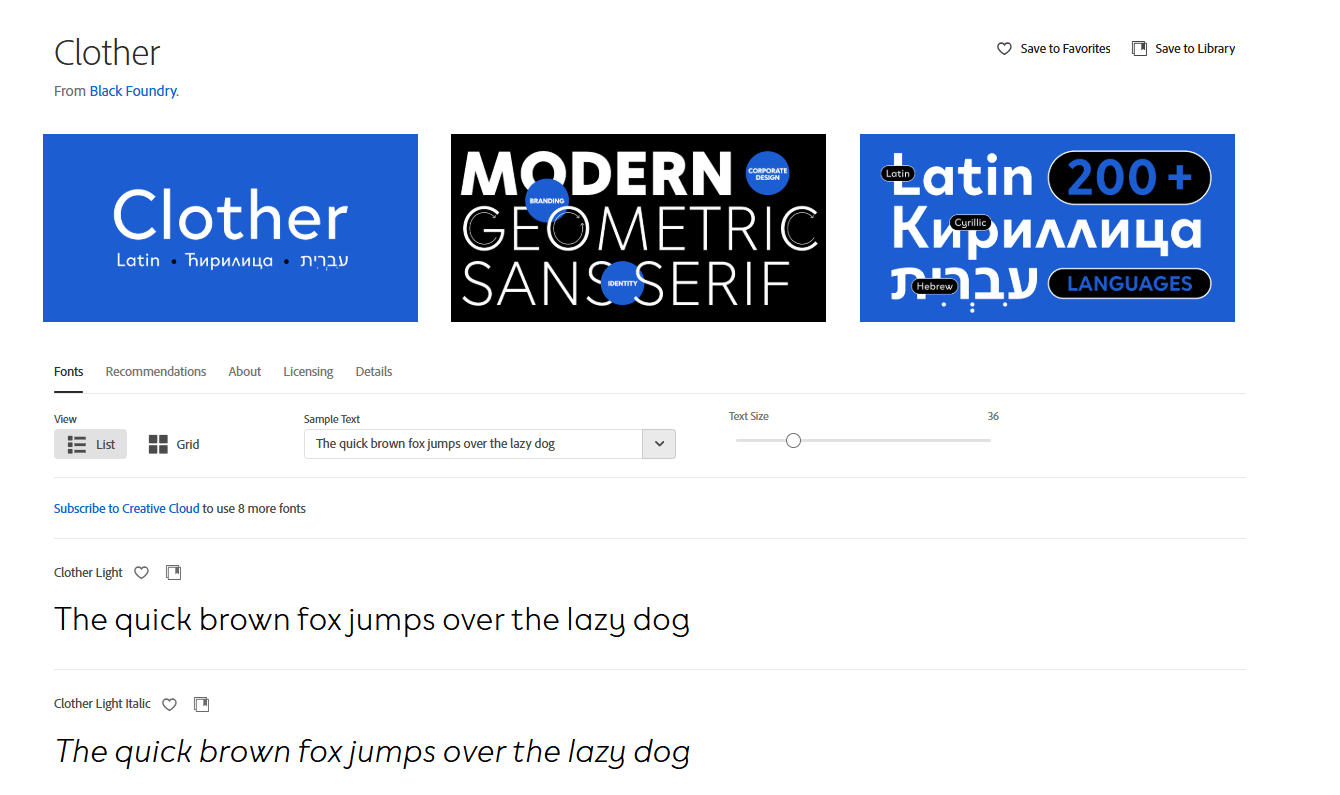
- Google Fonts: The gold standard. 100% free, legally bulletproof, and heavily optimized for web speed.
- Adobe Fonts (formerly Typekit): Paying the massive monthly fee for Creative Cloud? Use their elite fonts.
- Font Squirrel or DaFont: Read the licenses. "Free for personal use" means you literally cannot use it on a business site.
- Bought a Premium Font? Check your receipt. You need a "Web License." A desktop license doesn't cover WordPress.
File format is non-negotiable. Throw away your ancient `.TTF` or `.OTF` files. You want WOFF2. It is aggressively compressed for browsers and loads instantly.
Method 1: Add Custom Fonts Using a Plugin (Recommended for Most Users)
If CSS makes you want to throw your laptop out a window, use a plugin. It's foolproof. Here is what works in 2026:
1. Use Any Font
- Upload your file, it does the heavy lifting.
- Forces fonts onto your H1 tags without touching code.
- Plays nice with almost every theme.
- Free version caps you at one custom font (which is all you need anyway).
2. Custom Fonts
- Super lightweight. Built specifically for heavy page builders like Elementor or Astra.
- Loves the WOFF2 format.
- Hooks directly into the native WordPress Customizer.
3. Easy Google Fonts
- Theme missing Google Fonts? Use this.
- Lets you see how awful a font looks before you hit publish.
- Lets you selectively load font weights so you don't crush your server CPU.
How to Add a Custom Font with a Plugin (Step-by-Step)
- Open your dashboard. Hit Plugins > Add New.
- Search "Use Any Font". Install. Activate.
- Find the settings menu in your sidebar.
- Upload that `WOFF2` file. Name it something logical.
- Assign the font to your headings or paragraphs using their interface.
- Clear your cache. Boom. Done.
Further reading: Gorgeous typography won't save you if you write about stuff nobody searches for. Fix your content right now with our brutal guide on Keyword Research.
Method 2: Add Google Fonts to WordPress
Google Fonts are reliable. But amateurs still mess this up constantly.
Option 1: The Lazy Way (Plugin)
- Install Easy Google Fonts.
- Pick from the dropdown.
- Assign it. The downside? You just added plugin bloat to your site.
Option 2: The Pro Way (Manual Header Injection)
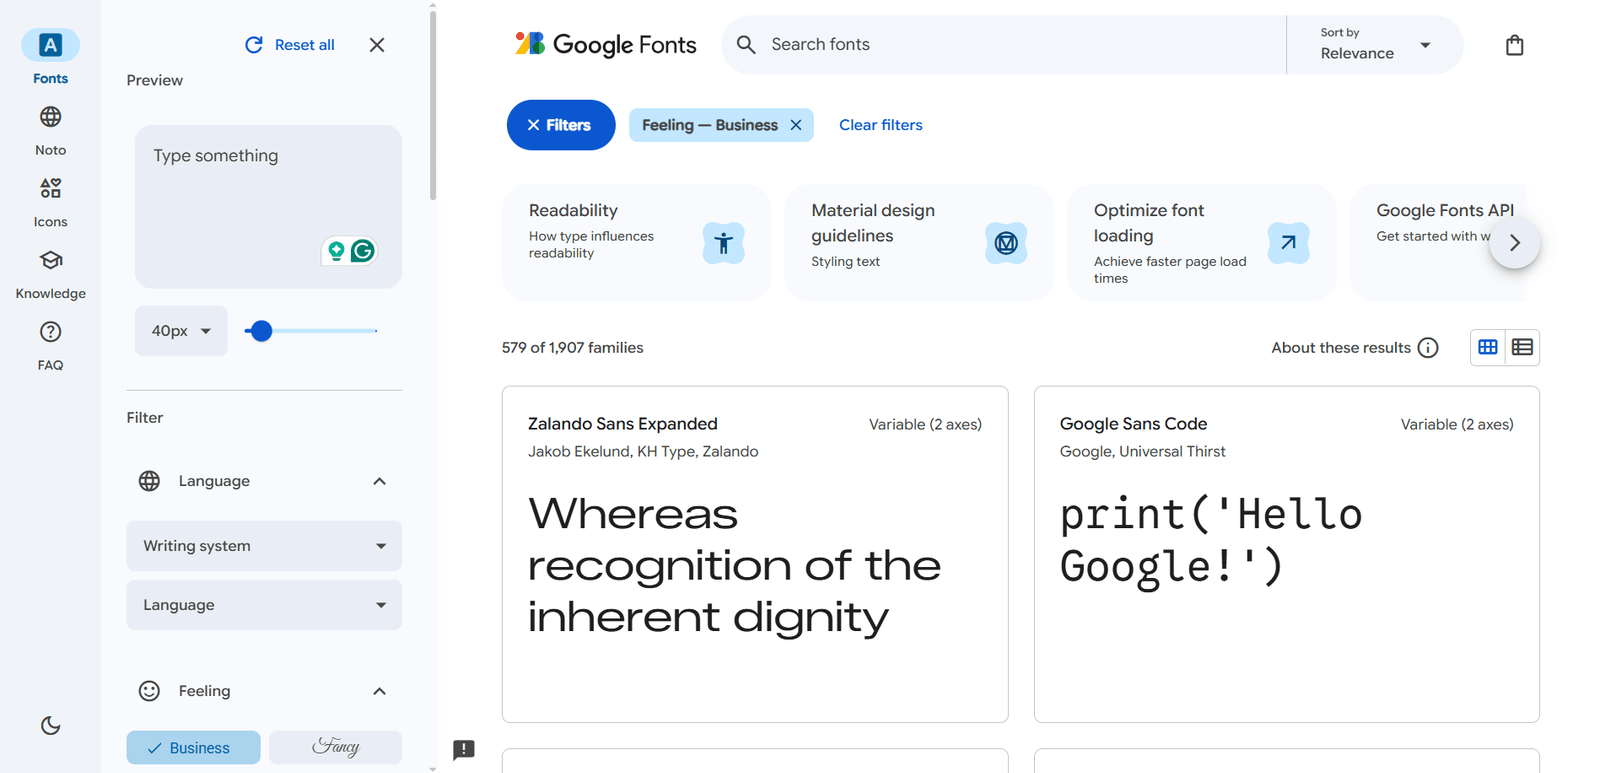
- Go to fonts.google.com. Find your font.
- Select ONLY the exact weights you need (like Regular 400 and Bold 700). Grabbing all 12 weights will completely tank your load time.
- Copy the `` tag.
- Paste that tag into your site's `` section. (Just use the WPCode plugin if you are scared to touch `header.php`).
- Open your Custom CSS and write:
body { font-family: 'Roboto', sans-serif; }
Pro tip: Stop pinging Google's servers if you get European traffic. Host the Google Fonts locally on your own server or prepare to get slapped with massive GDPR fines.
Method 3: Upload Custom Fonts Manually via CSS (Advanced)
Hate plugins? Want raw speed? Do it manually. It's not that hard if you just follow the steps.
Step-by-Step: Manual Custom Font Integration
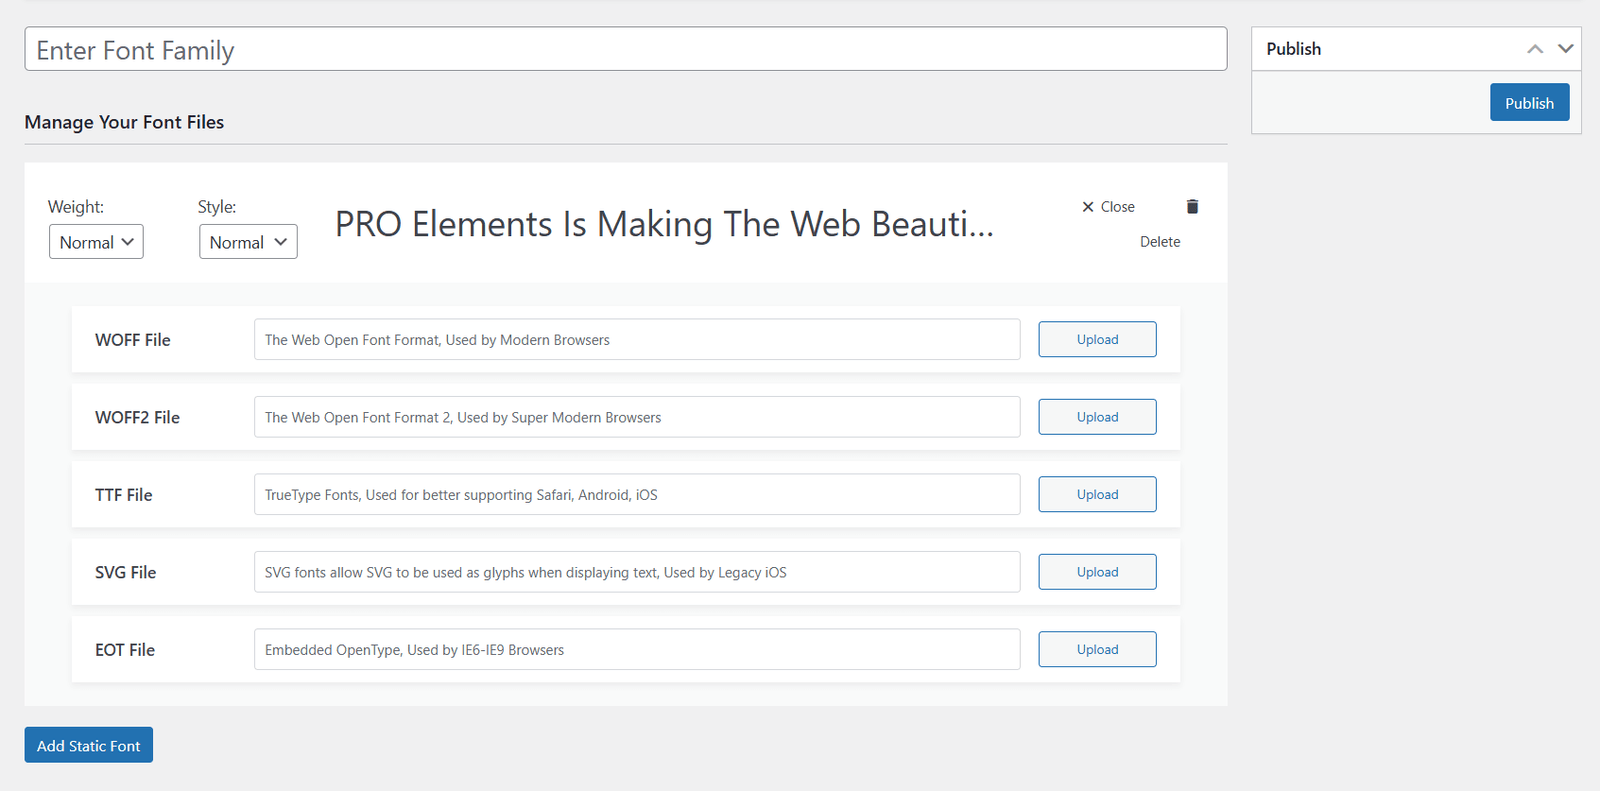
- Upload the raw files: Connect via FTP. Open your active theme. Create a `/fonts/` folder. Dump the `WOFF2` and `WOFF` files in there.
- Open your CSS: Go to the Customizer and hit Additional CSS.
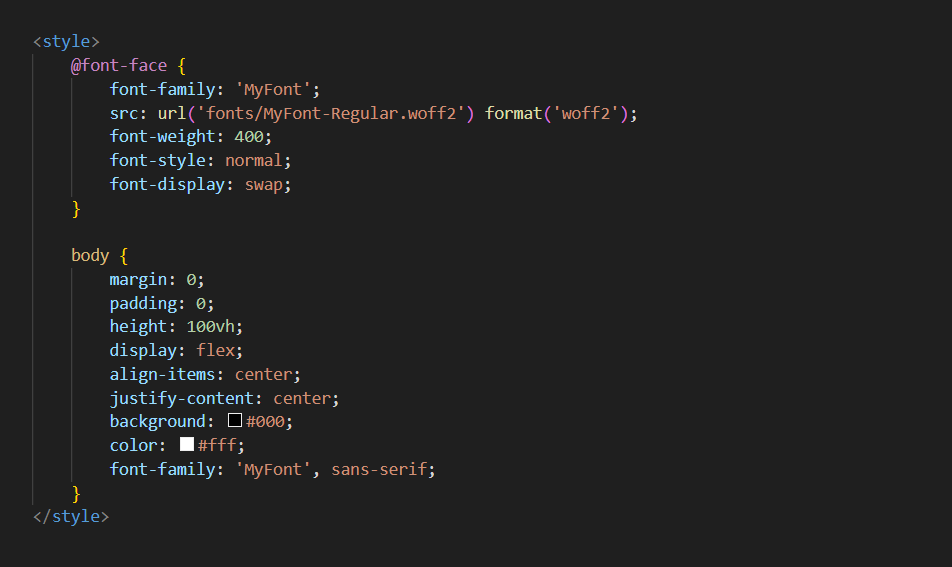
- Write the @font-face rule: Tell the browser where the files are hiding:
@font-face { font-family: 'MyCustomFont'; src: url('fonts/MyCustomFont.woff2') format('woff2'), url('fonts/MyCustomFont.woff') format('woff'); font-weight: normal; font-style: normal; font-display: swap; } - Force it onto your text:
h1, h2, h3 { font-family: 'MyCustomFont', Arial, sans-serif; } - Save and refresh. Zero bloat.
Note: Use a Child Theme. If you drop those files in the parent theme folder, the next update will erase them completely. You've been warned.
Method 4: Add Adobe Fonts (Typekit) to WordPress
Paying for Creative Cloud? You might as well use their elite fonts.
- Log into fonts.adobe.com.
- Click "Add to Web Project." Grab the embed code snippet.
- Paste that code straight into your WordPress `` section.
- Open your CSS and call the exact `font-family` name Adobe handed you.
Further reading: Panicking about copyright laws for your blog images and fonts? Read our brutal reality check: Does Copyright Apply To Screenshot Images?
Method 5: Add Custom Fonts to Elementor or Other Page Builders
Using Elementor Pro? Skip the code entirely. They built a dashboard for this.
Elementor Custom Fonts
- Click Elementor > Custom Fonts in the sidebar.
- Hit Add New. Upload the `WOFF2` file. Ignore the legacy formats.
- Name it and publish.
- Open any page in the visual editor. Go to Typography. Your custom font is sitting right at the very top.
Best Practices for Adding Custom Fonts to WordPress
- WOFF2 only: Forget the rest. It compresses aggressively. It is fast.
- Stop hoarding weights: If you only need "Bold", don't upload "Italic" and "Light". It is dead weight slowing down your site.
- Force `font-display: swap`: Not optional. It forces the browser to show a basic system font instantly, then swaps yours in a millisecond later. No invisible text.
- Host locally: Stop pinging external servers. Put the files on your own hosting account for strict privacy compliance.
- Check your phone: A massive custom header looks great on your massive Mac monitor. It will probably break your iPhone layout. Check it.
Pro tip: Thinking about stealing a premium font from a competitor? Just don't. Run your stuff through a plagiarism checker and obey the law.
Troubleshooting Common Custom Font Issues
- Nothing changed? It is your cache. It is literally always your cache. Clear your browser. Clear WP Rocket. Clear Cloudflare.
- Looks weird on an old iPhone? You only uploaded the `WOFF2` format. Ancient browsers need the standard `WOFF` format as a fallback.
- PageSpeed score tanked? You loaded 12 custom fonts. Stop doing that. Pick two and delete the rest immediately.
- Font vanished? You edited the main theme files, updated your site, and it got wiped. Go put the code back.
How to Remove or Change Custom Fonts
Want it gone? Just deactivate the plugin. The font is gone. If you hardcoded it, you have to dig into your server, delete the font files from the folder, and erase the CSS rules. Do not leave unused fonts sitting on your server taking up space.
SEO and Performance Considerations for Custom Fonts
- The speed tax: Every font is an extra HTTP request. It taxes your server. Optimize ruthlessly.
- The contrast rule: A thin gray font on a white background might look cool, but nobody can read it. Google's accessibility bots will notice and penalize your mobile score.
- Always have a fallback: In your CSS, always declare a safe fallback. If your server glitches, tell the browser to default to `sans-serif` so the site doesn't completely break.
Further reading: Heavy fonts will crush a cheap server. Stop using $2 hosting. Move your site to a real machine. Read our guide to the Best WordPress Hosting Providers.
Frequently Asked Questions About WordPress Custom Fonts
Can I literally add any font I want?
Yes. If you possess the raw file, you can force WordPress to use it. Make sure you own the legal rights to use it commercially.
Will adding a custom font ruin my loading speed?
It absolutely will if you are careless. Host the files locally, use the `swap` command, and limit yourself to two font weights. You'll be fine.
Do I have to know CSS to do this?
No. Use a plugin or Elementor. You'll never see a line of code.
Are Google Fonts actually free for my business?
Yes. They are open-source. Use them anywhere.
How do I make Adobe Fonts work?
Don't download the files. Create a "Web Project" in the Adobe dashboard, grab the `` code, paste it into your header, and call the name in your CSS.
Ready to Transform Your WordPress Typography?
Changing your typography is the absolute fastest way to make a cheap template look like a $10,000 custom build. There is zero excuse for having boring text in 2026.
Upload your WOFF2 files, strip out the heavy weights you don't actually need, force the `swap` command, and stop making your users stare at a blank screen.
Fix your fonts, then go fix your traffic. Stop tweaking colors and start reading our aggressive guides on How To Get AdSense Approval and How To Get Backlinks For Your Website.
Your typography sets the tone. Make it look like you actually mean business.